
A Cleveland Homeowner's Guide to Navigating Storm Damage Insurance Claims
The wind howls, the rain or hail comes down in sheets, and when it’s all over, you’re left with a sinking feeling in your stomach. As fellow Clevelanders, we know how quickly a severe storm can roll in off the lake and leave a trail of uncertainty. Looking at your home, you might wonder: Is my roof damaged? Where do I even begin? The process of filing an insurance claim can feel overwhelming, especially when you’re already stressed about potential damage to your biggest investment. But you don’t have to navigate it alone. This guide will walk you through the essential steps, from initial assessment to getting your roof repaired, ensuring you have the knowledge to handle the process with confidence.
Step 1: Prioritize Safety and Document Everything
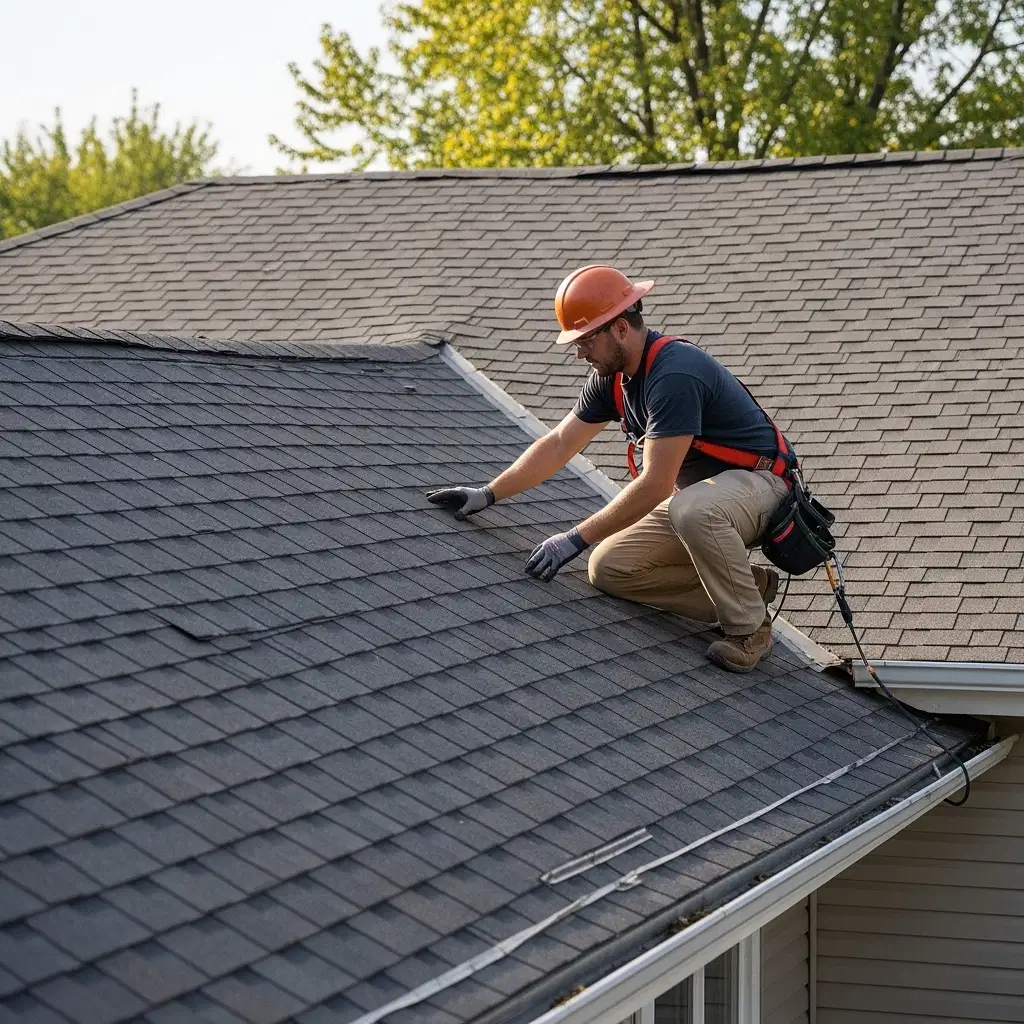
Immediately after a storm, your first priority is safety. Stay on the ground and visually inspect your property. Look for obvious signs of damage like fallen tree limbs, dented gutters, or shingles scattered in your yard. While it might be tempting to get on the roof yourself, it’s extremely dangerous, especially when it could be wet or structurally compromised.
Your next crucial step is documentation. Before you move anything, grab your phone and take extensive photos and videos. Capture the following:
- Shingles: Take pictures of any shingles that are missing, cracked, lifted, or have noticeable dents or pockmarks from hail.
- Gutters and Downspouts: Document any dents, dings, or sections that have pulled away from the house.
- Siding and Windows: Check for cracks, holes, or other signs of impact damage.
- Indoor Leaks: If you notice any water stains on your ceilings or walls, photograph them immediately.
This evidence is invaluable when you file your claim. The more detailed your documentation, the smoother the process will be. If you have significant damage that could lead to further issues, like a hole in the roof, a professional can perform an emergency temporary roof repair to prevent water from getting inside your home.
Step 2: Understand Your Policy and Contact Your Insurance Company
Before you pick up the phone, it’s helpful to locate your homeowner's insurance policy. Take a moment to review your coverage, specifically looking for details on wind and hail damage. Pay close attention to your deductible—this is the amount you’ll be responsible for paying out-of-pocket before your insurance coverage kicks in. Understanding this upfront helps set clear expectations.
Once you’re ready, contact your insurance provider to initiate a claim. Have your policy number and the documentation you’ve gathered on hand. Be prepared to provide a clear and concise description of the damage and the date the storm occurred. Your insurance company will assign a claim number and an adjuster to your case. The adjuster's job is to assess the damage on behalf of the insurance company and determine the cost of repairs.
Step 3: Get a Professional Roof Inspection from a Trusted Contractor
This is arguably the most important step in the entire process. While the insurance adjuster works for the insurance company, a reputable local roofing contractor works for you. After a storm, our area often sees an influx of out-of-town “storm chasers” who may offer a quick, low-quality fix. It’s crucial to partner with an established, local company you can trust.
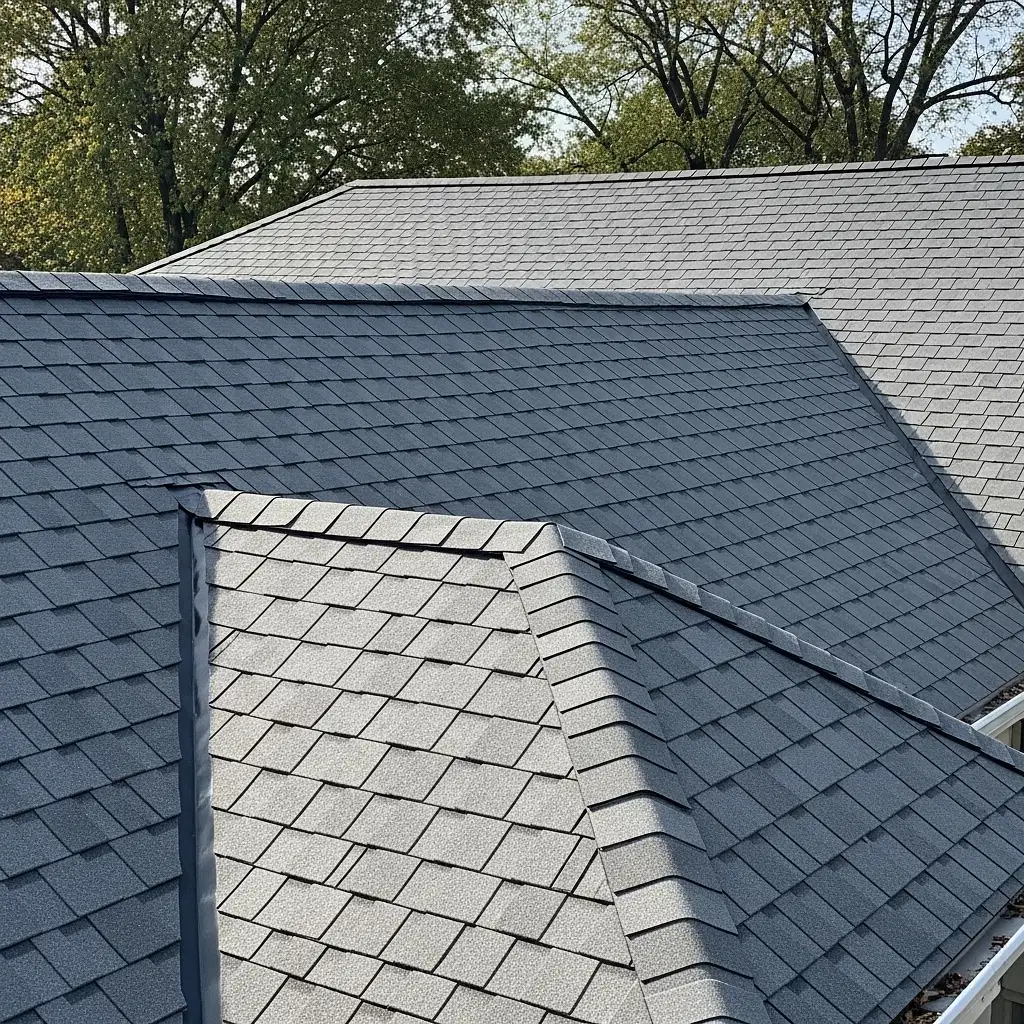
A comprehensive roof inspection from an experienced professional will provide you with an independent, detailed assessment of all the damage—not just the obvious spots. A trained eye can identify subtle hail bruises, wind-lifted shingles, and compromised flashing that an adjuster might overlook. At Burton Roofing & Siding, we provide a thorough report that documents every issue, giving you a powerful tool to ensure your claim covers the full scope of necessary repairs for your residential roofing system.
Step 4: Meet the Adjuster and Finalize Your Claim
When the insurance adjuster schedules their visit, you should be there. More importantly, we strongly recommend having your trusted roofing contractor present as well. Having your roofer on-site allows them to walk the roof with the adjuster, point out specific areas of damage, and ensure nothing is missed. This collaborative approach helps guarantee that the adjuster’s report is accurate and comprehensive, preventing potential disputes down the line.
Once the adjuster completes their assessment, you will receive a summary detailing the scope of work and the estimated cost of repairs. Compare this document carefully with the estimate provided by your contractor. If there are discrepancies, your roofer can communicate directly with the insurance company to provide supplemental information and advocate on your behalf.
After your claim is approved, you can move forward with the repairs. This is your opportunity to work with your contractor to choose high-quality materials, such as durable asphalt roofing shingles designed to stand up to Ohio’s tough weather, giving you peace of mind for years to come.
Don't Go Through It Alone
Dealing with storm damage is stressful enough without the added complexity of an insurance claim. By following these steps—documenting the damage, understanding your policy, and partnering with a trustworthy local expert—you can protect your home and ensure you get the fair settlement you deserve.
If your home has been affected by a recent storm in the Cleveland area, don't wait for a small problem to become a major one. Contact Burton Roofing & Siding Company today for a free, no-obligation storm damage inspection. We’re here to help you every step of the way, from assessment to repair, with the high-quality workmanship and customer care you can count on.